RVT for ArcGIS Pro
RVT can be used in ArcGIS Pro as a set of custom raster functions.
As described in the ArcGIS Pro documentation:
Raster functions are operations that apply processing directly to the pixels of imagery and raster datasets, as opposed to geoprocessing tools, which write out a new raster to disk. Calculations are applied to the pixels of the original data as displayed, so only pixels that are visible on your screen are processed. As you zoom and/or pan around, the calculations are performed on the fly. Because no intermediate datasets are created, processes can be applied quickly, as opposed to the time it would take to create a processed file on disk.
See also
Find out how to install RVT for ArcGIS in ArcGIS installation.
Setting up
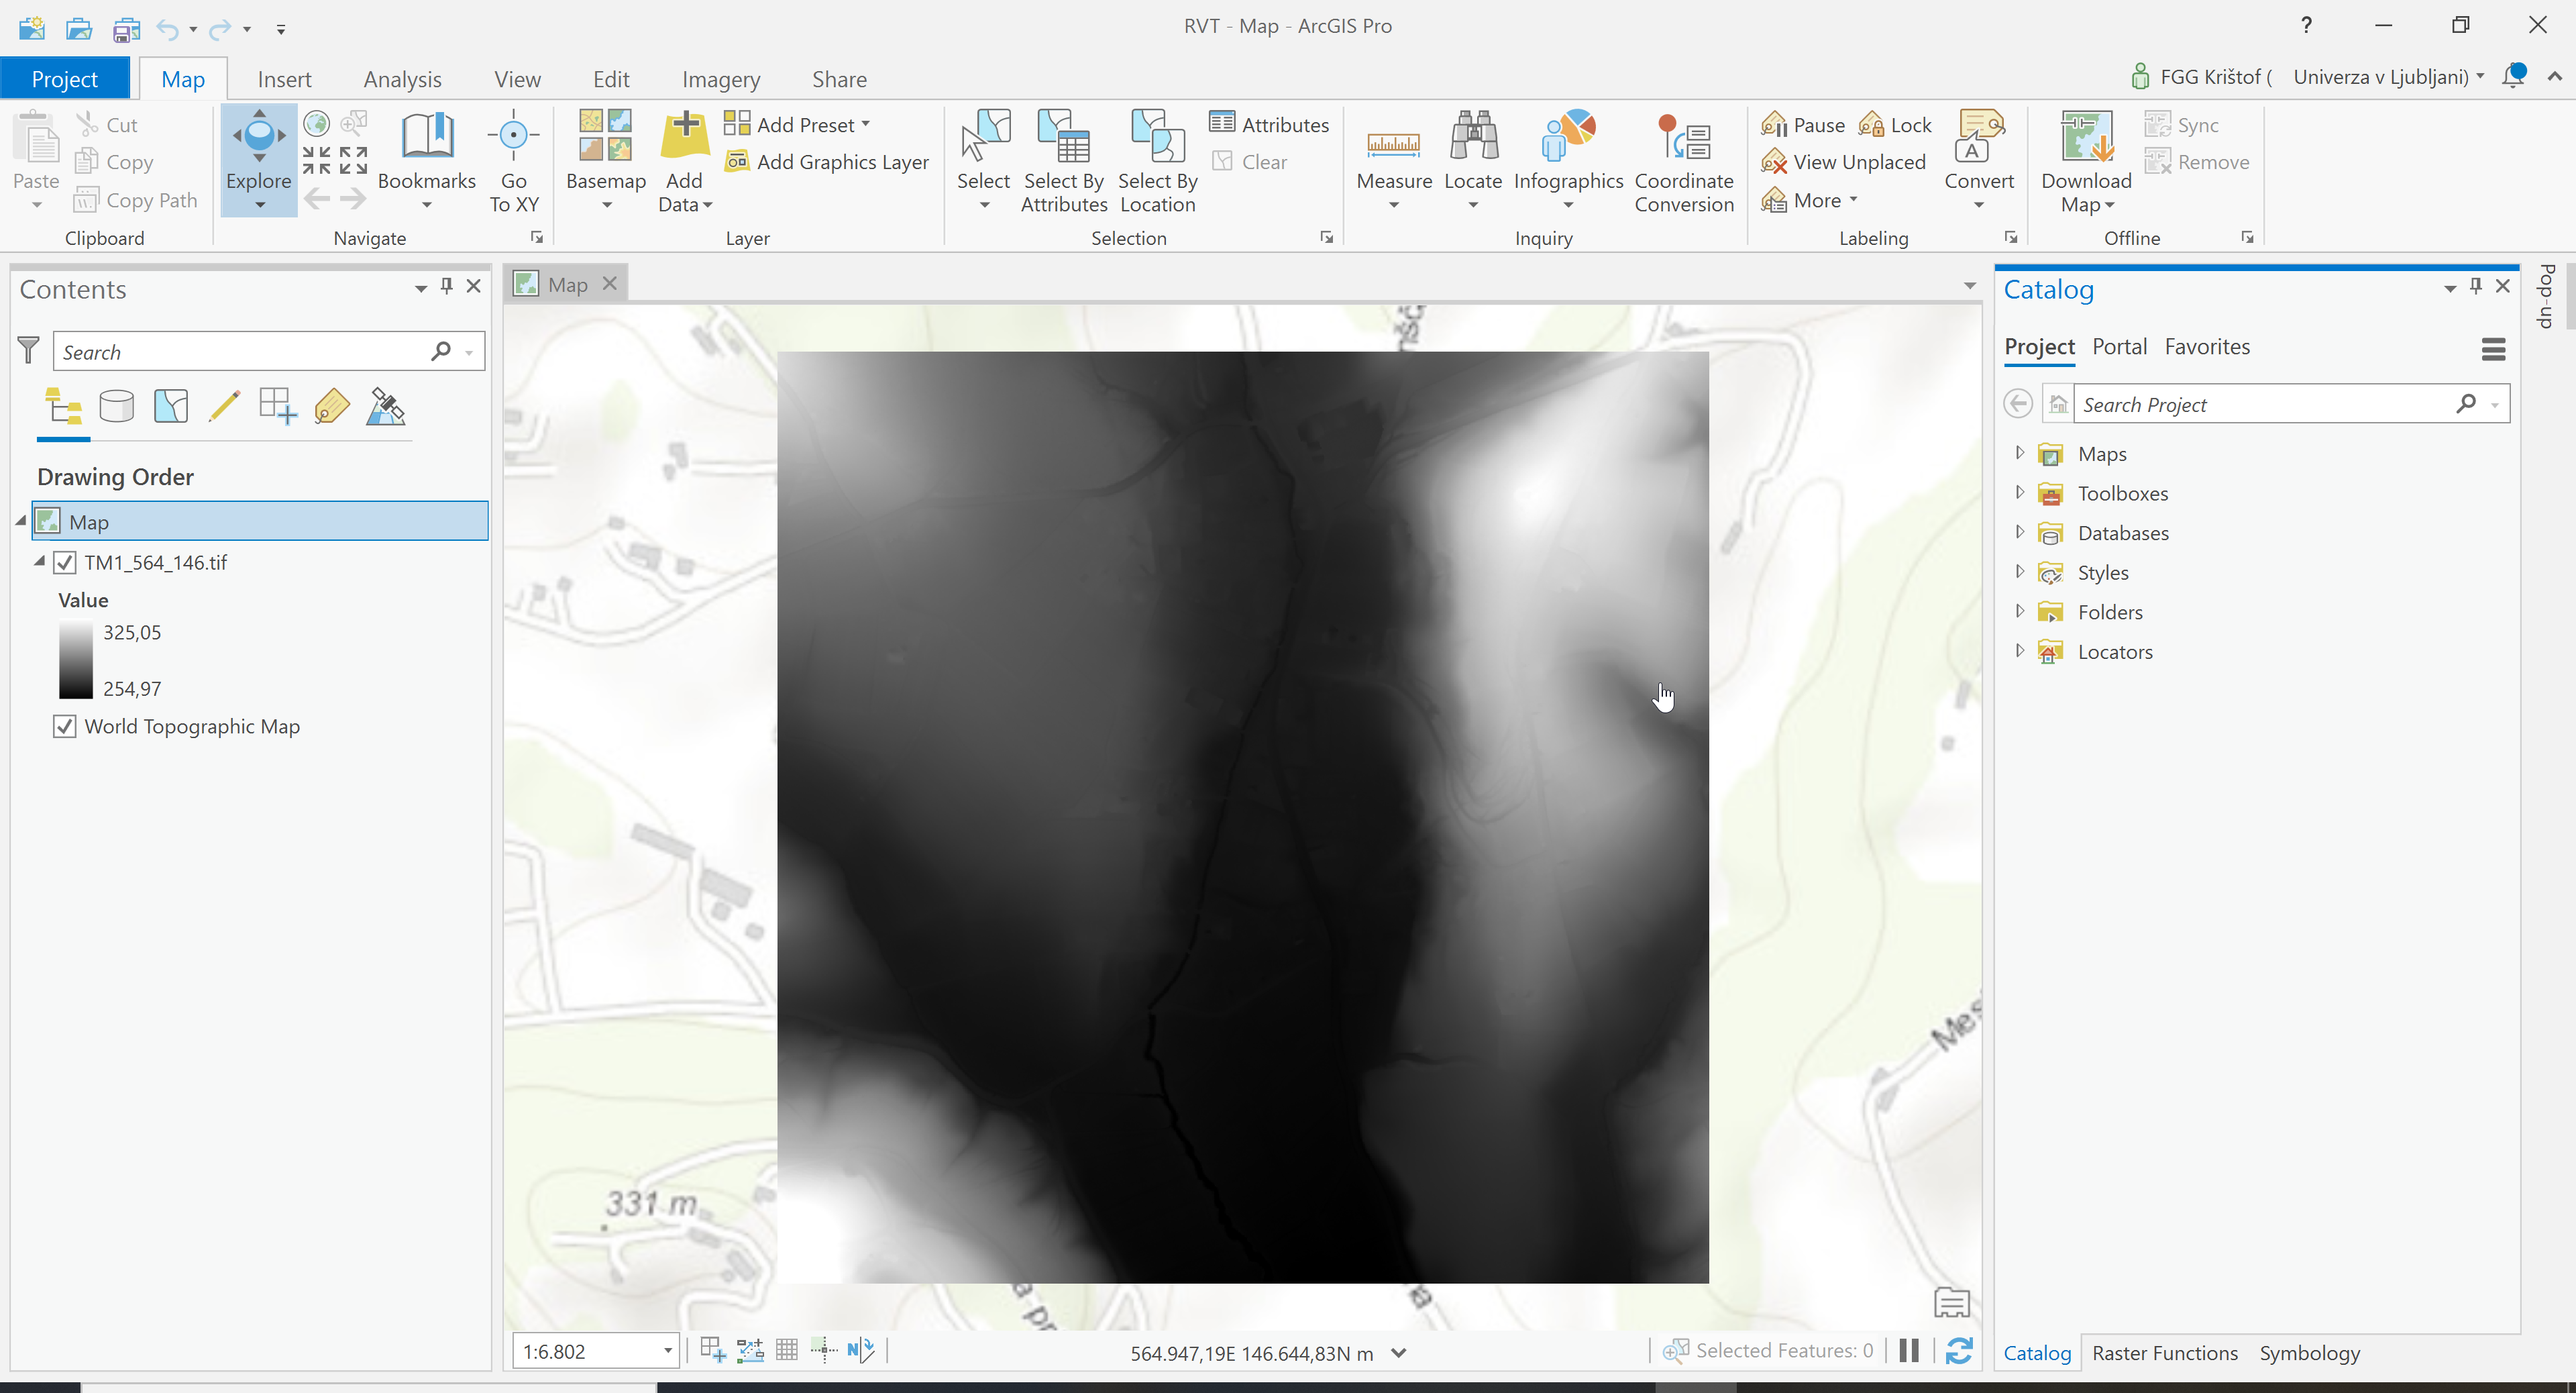
Start ArcGIS Pro, open a project, and add a DEM layer.
Select
Imagery → Raster Functions.
Select
Customand open the grouprvt-arcgis-pro.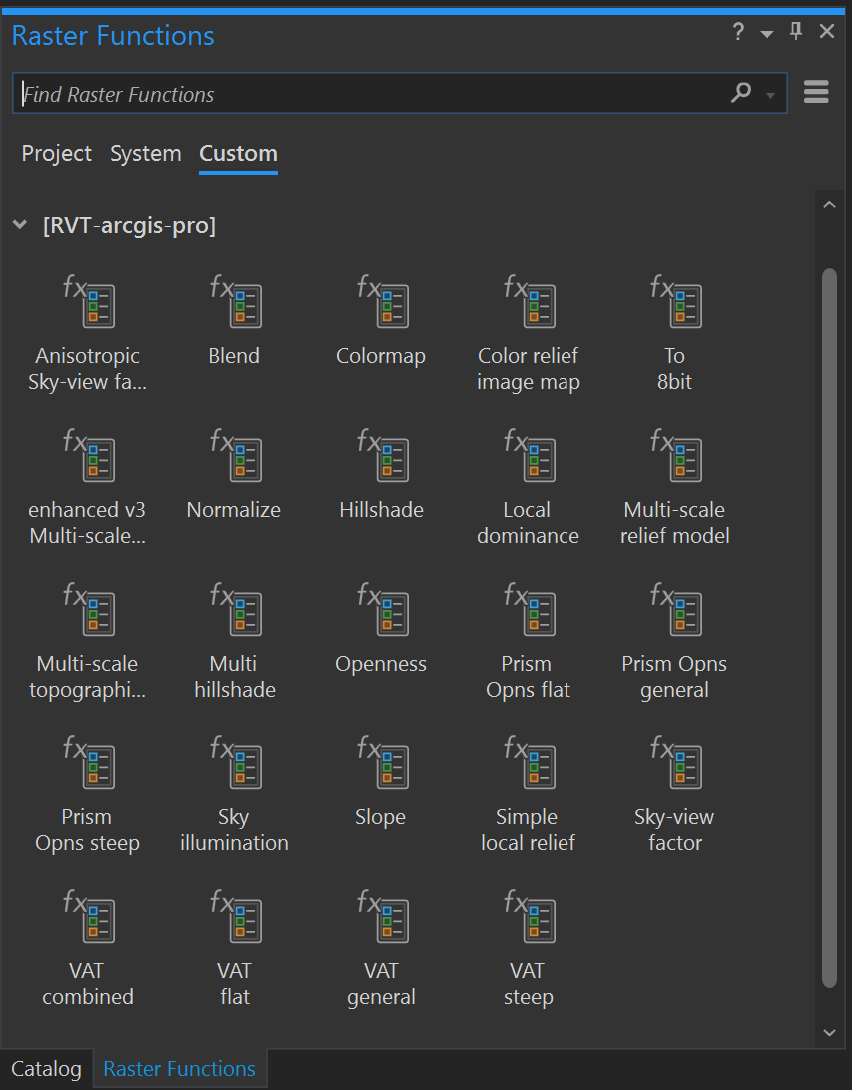
Computing visualizations
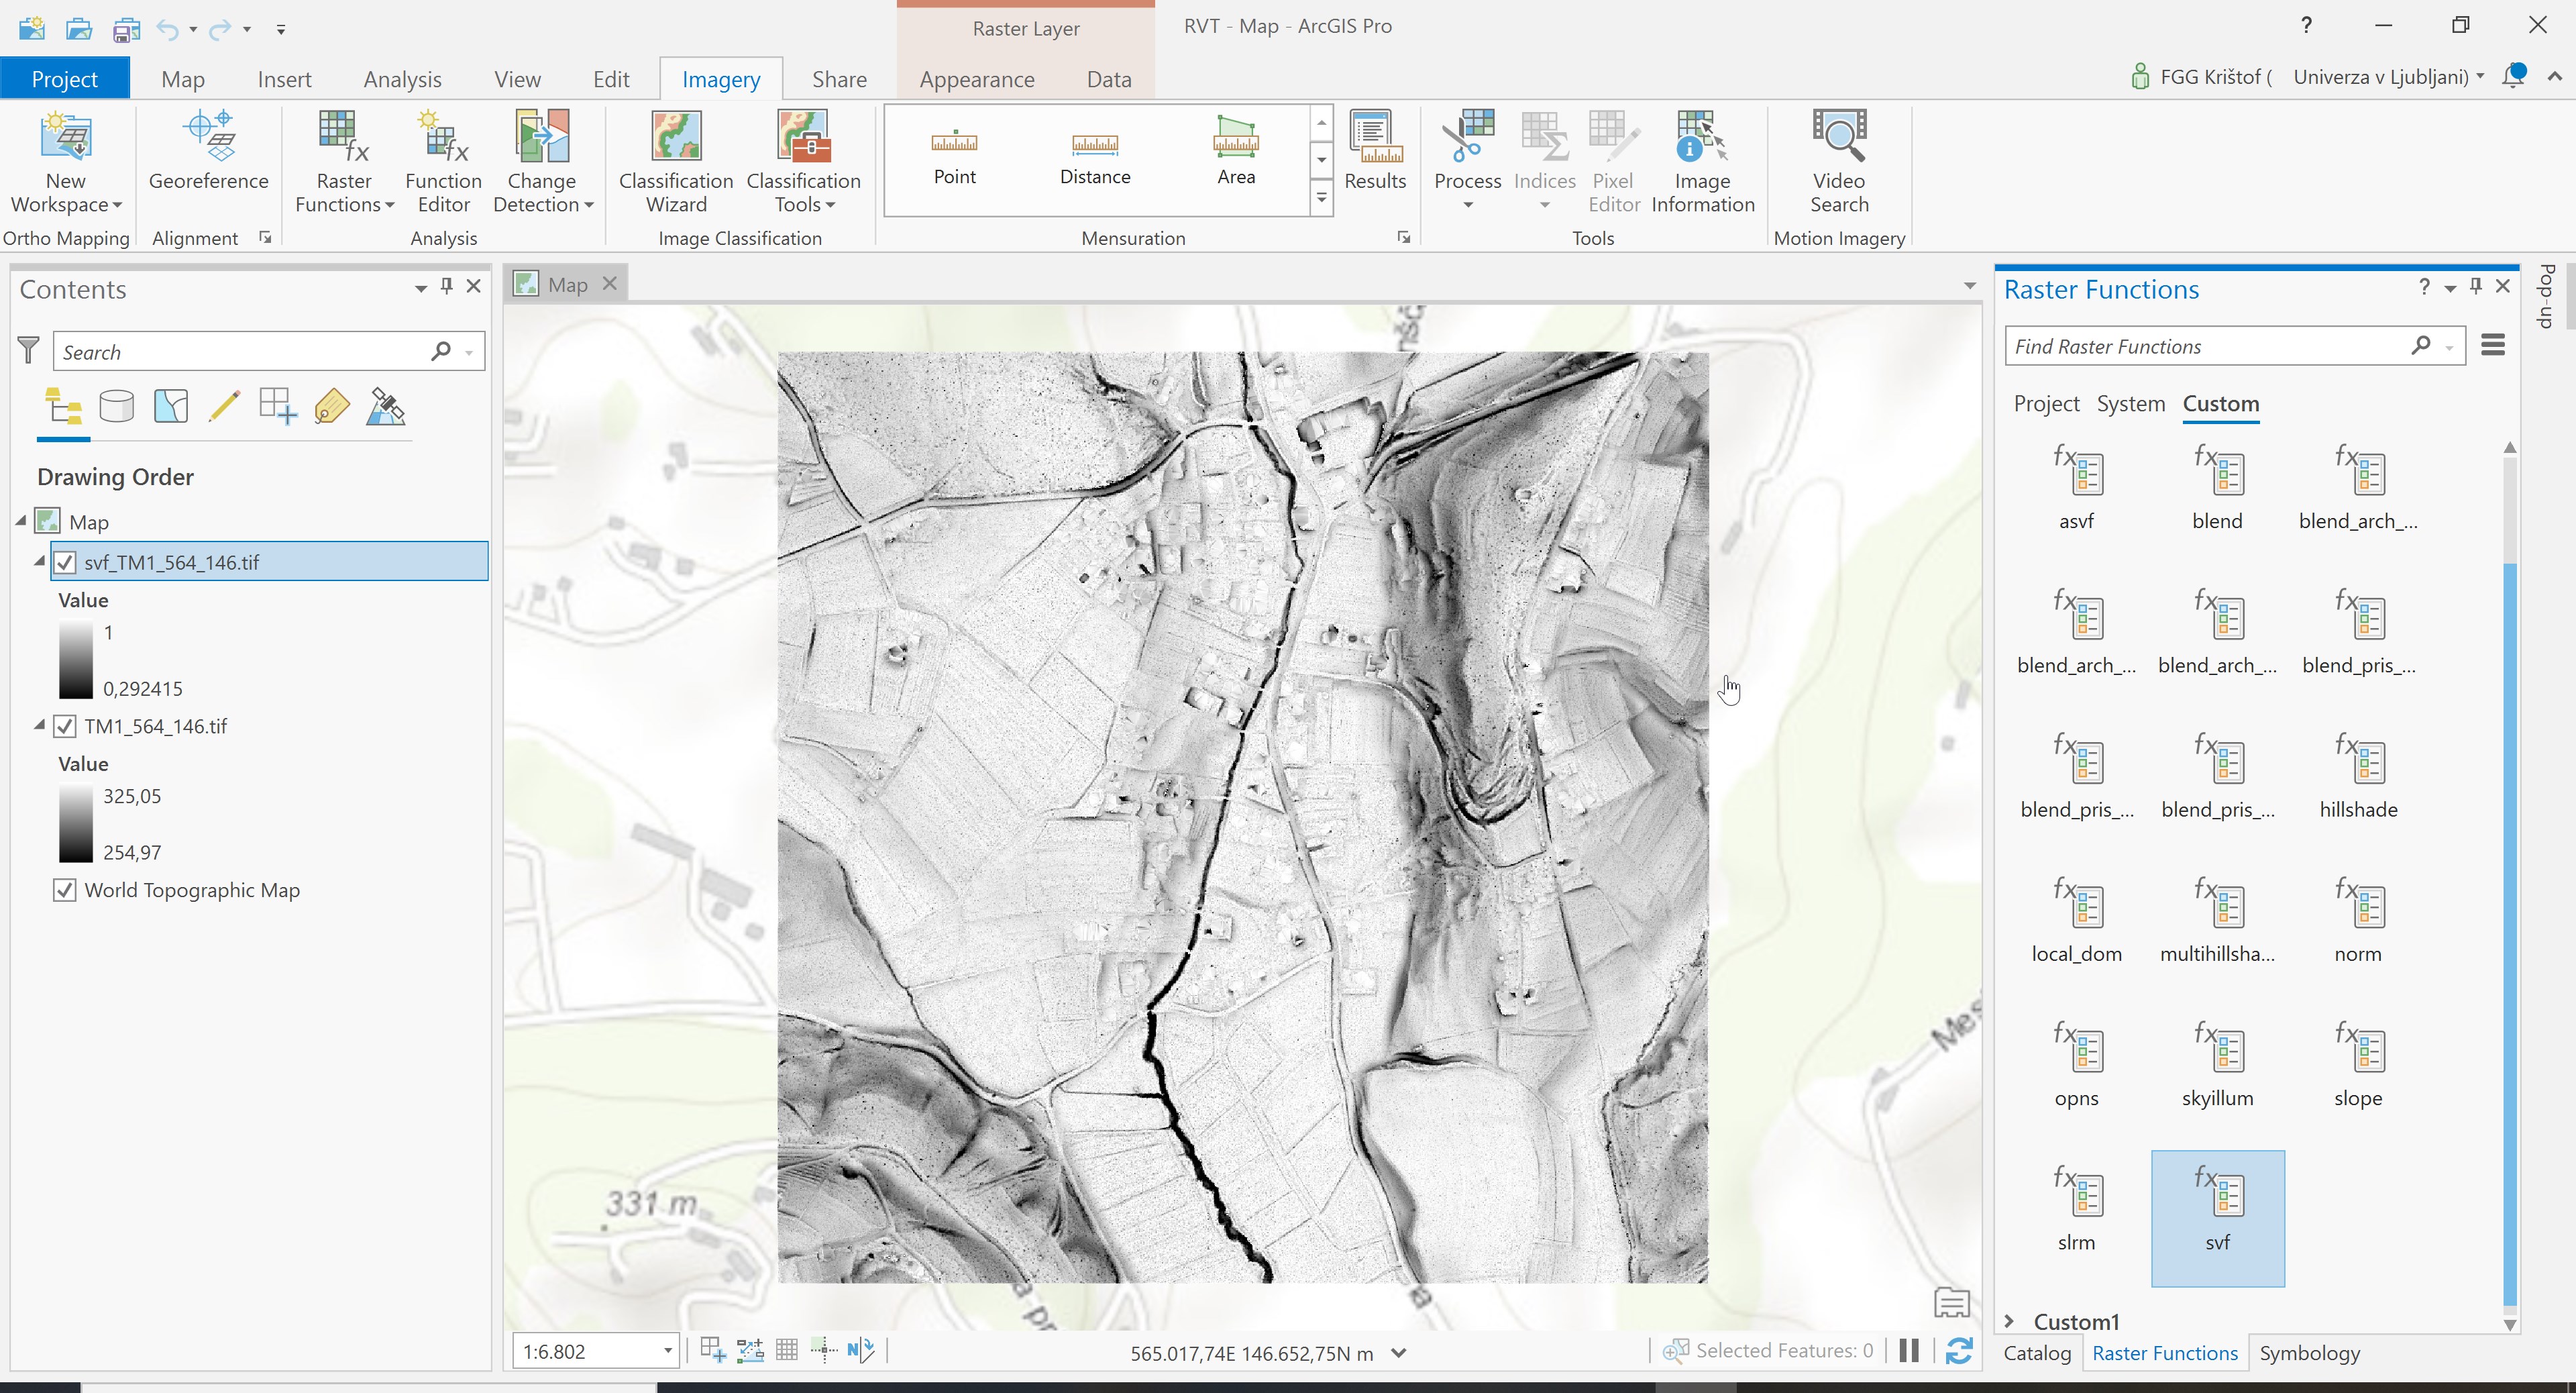
Select the appropriate function, e.g.
svf, specify the processing parameters and selectCreate new layer(orSave As).
The visualization is computed and displayed as a layer in the main window.
Using the blender
The blender in ArcGIS is slightly different from the blender in the QGIS plugin and the Python package. The same blend mode options exist, but only two raster layers can be blended at one time.
Use the blender in the same way as a visualization function, by specifying the processing parameters and selecting Save As.